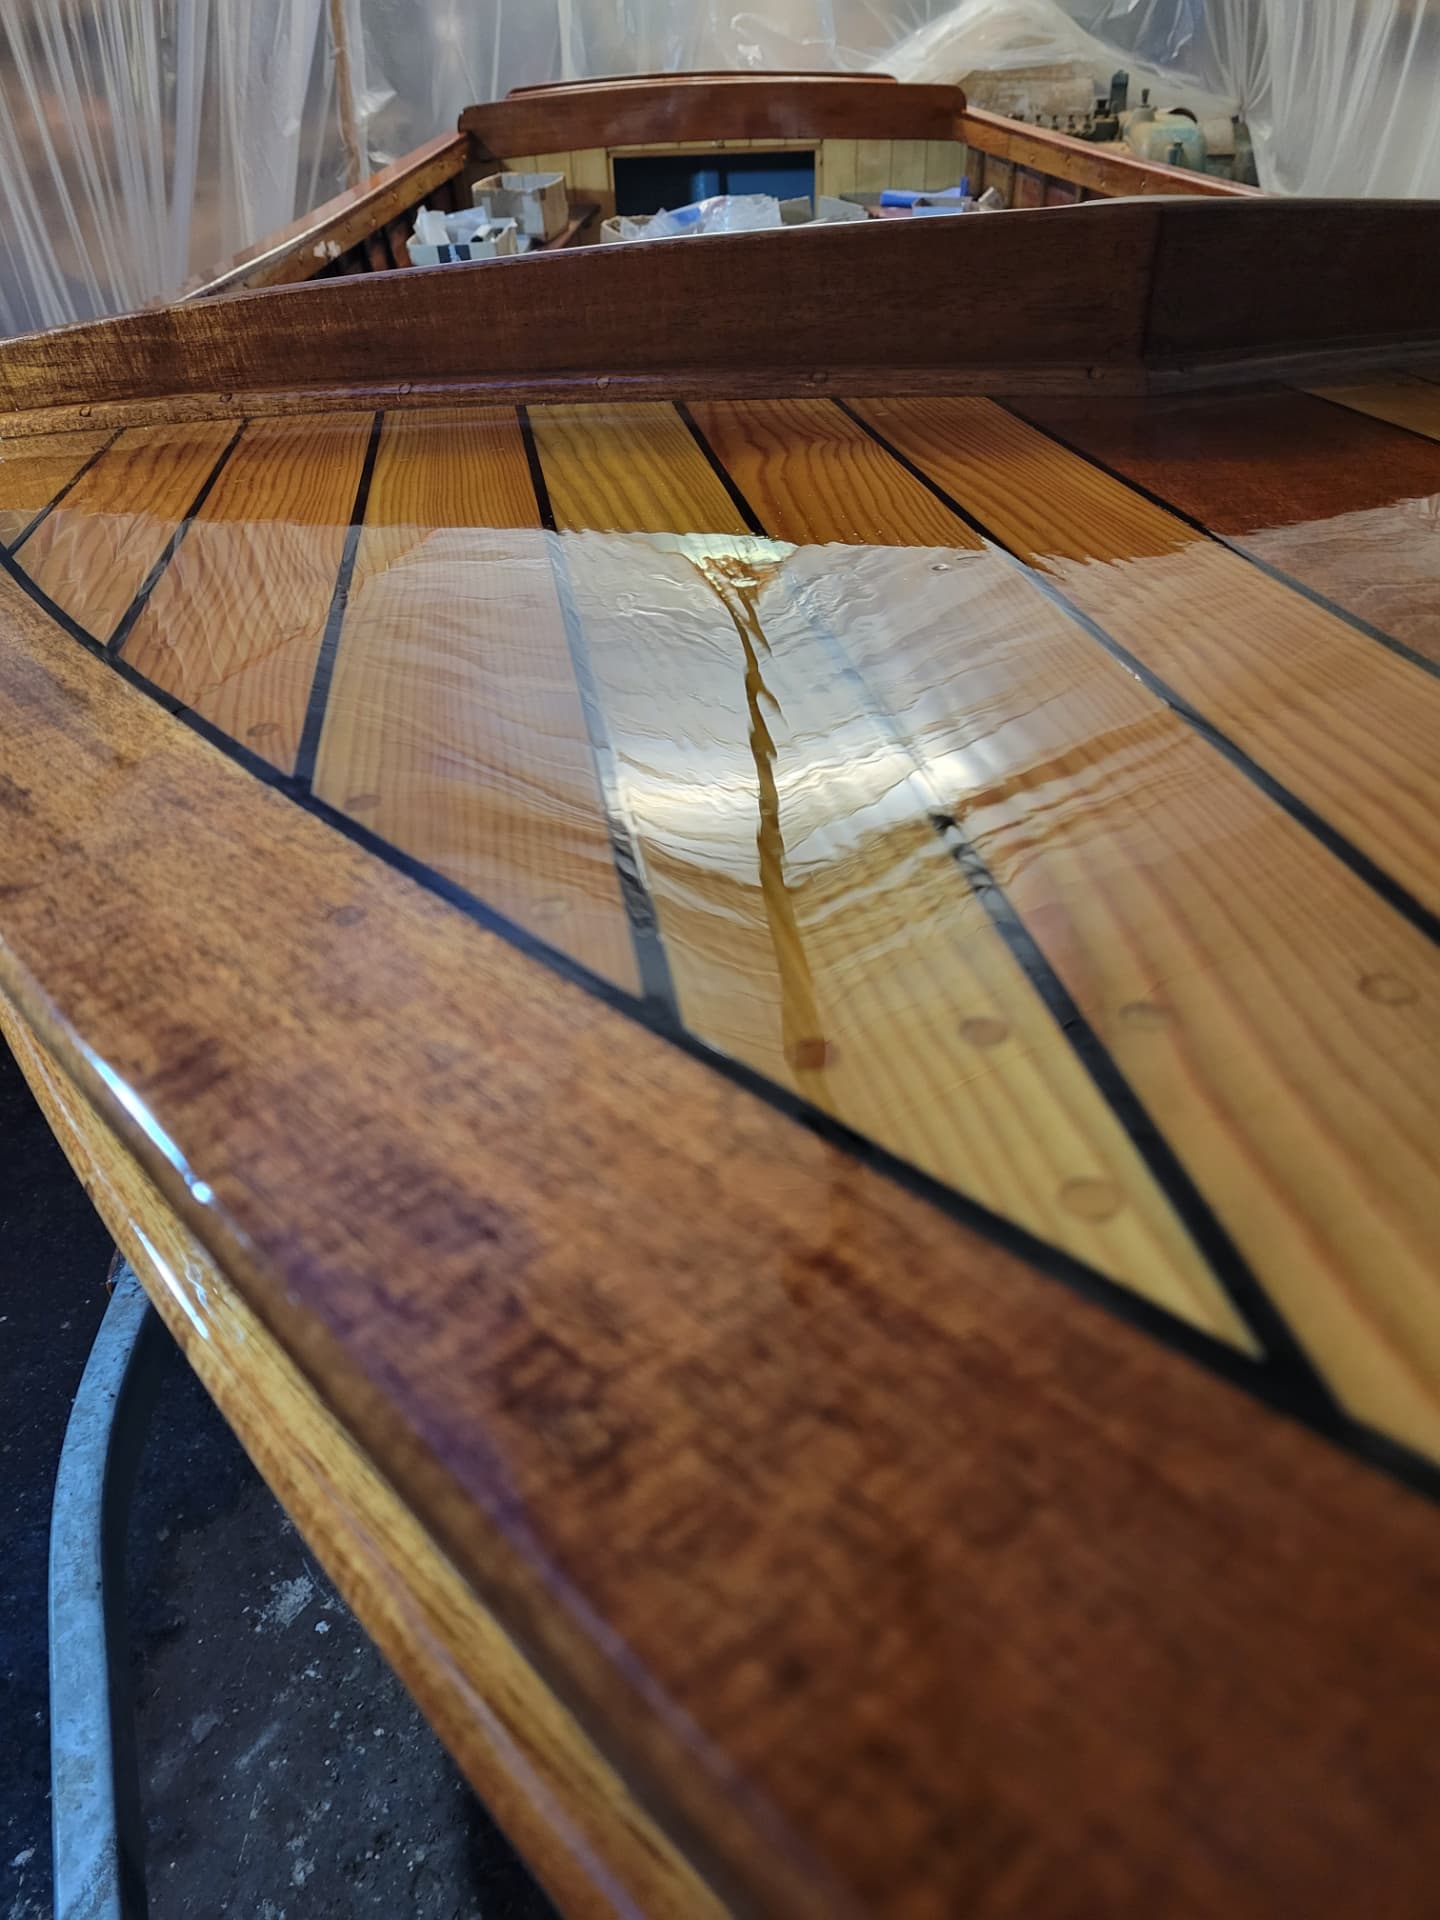
1. Choose your day and set up
Varnish between 10C and 25C, out of direct sun and out of wind. Under cover is best: tenting the boat in polythene, as in the photo, keeps dust and dew off the wet film.
Never start a coat late in the day. Evening damp settles on the surface before it skins and leaves a milky bloom you can only sand out.
2. Strip back to sound timber
Remove all flaking, lifting or blackened varnish. A heat gun on low with a sharp scraper is quicker and kinder than chemical stripper on a large deck; keep the gun moving so you never scorch the grain.
Any grey or black staining must come out now. Bleach the stain with a two-part teak or oxalic acid cleaner, rinse well and let the wood dry fully for 24-48 hours before you go further.
3. Sand and de-dust
Work up through the grits — 120, then 180, finishing at 220 — always with the grain. Use a block on flat surfaces so you keep the edges crisp rather than rounding them off.
Vacuum, then wipe with white spirit on a rag, then finish with a tack cloth immediately before the first coat. Dust left in a corner will show in every coat above it.
Mask caulked seams and paintwork with low-tack tape and pull the tape while the coat is still soft, not after it cures.
4. Seal the grain
Thin the first coat by about 50% with the maker's thinners so it soaks in rather than sitting on top. Thin the second coat by 25%, the third by 10%, then apply the rest neat.
These thinned early coats are what stop the finish lifting a season later. Do not skip them, even on wood that looks close-grained.
5. Brush technique
Decant varnish into a clean pot and never brush from the tin — you contaminate the whole lot. Do not stir hard or shake; bubbles brushed into a coat stay there.
Load the brush about a third of its bristle length. Lay the varnish on across the grain, spread it out evenly, then tip off with long, light strokes along the grain using just the brush tip.
Keep a wet edge and work in one direction along the plank. Once a section starts to set, leave it alone — going back over it drags the film and leaves brush marks.
6. Build the coats
Aim for six to eight coats on new work, three to four when refreshing a sound finish. Allow the recoat time on the tin, usually 12-24 hours.
Sand lightly between coats with 320 grit (400 for the last two), just enough to knock off nibs and take the shine off. Tack off thoroughly each time.
You are looking for a flat, even film rather than thickness in one go. Thin coats cure hard; thick coats stay soft and go milky.
7. The final coat
Sand with 400 grit, vacuum, wipe and tack off twice. Apply the last coat neat, slightly wetter than the build coats, and tip off carefully.
Leave it undisturbed and covered for at least 24 hours, and keep foot traffic off for a week while the film hardens fully.
8. Fixing common faults
Runs and sags: let them cure hard, then cut back with 320 grit on a block and recoat. Never try to brush a run out while it is setting.
Bubbles: usually shaken varnish or a brush worked too fast. Sand flat and recoat with a slower hand.
Milky patches: moisture got into the coat. Sand back to clear varnish and recoat on a dry, warmer day.
Dust nibs: normal — that is what sanding between coats is for.
Maintenance schedule
Add a maintenance coat twice a season in strong sun, or once a year in temperate climates. A light 400-grit sand and one fresh coat takes an afternoon.
Catch it before the UV filter breaks down and the wood starts to darken at the edges — once water gets under the film you are back to a full strip.