Wooden Boat Maintenance
Timber hulls live and breathe with the weather. This section covers everything a classic boat owner needs: moisture control, caulking and seam work, varnish and paint schedules, fastener replacement, rot and borer prevention, plus a season-by-season plan for carvel, clinker, strip-plank and cold-moulded construction.
Written for hands-on owners doing the work themselves — with practical steps, tool lists, and the timings to expect from each job.
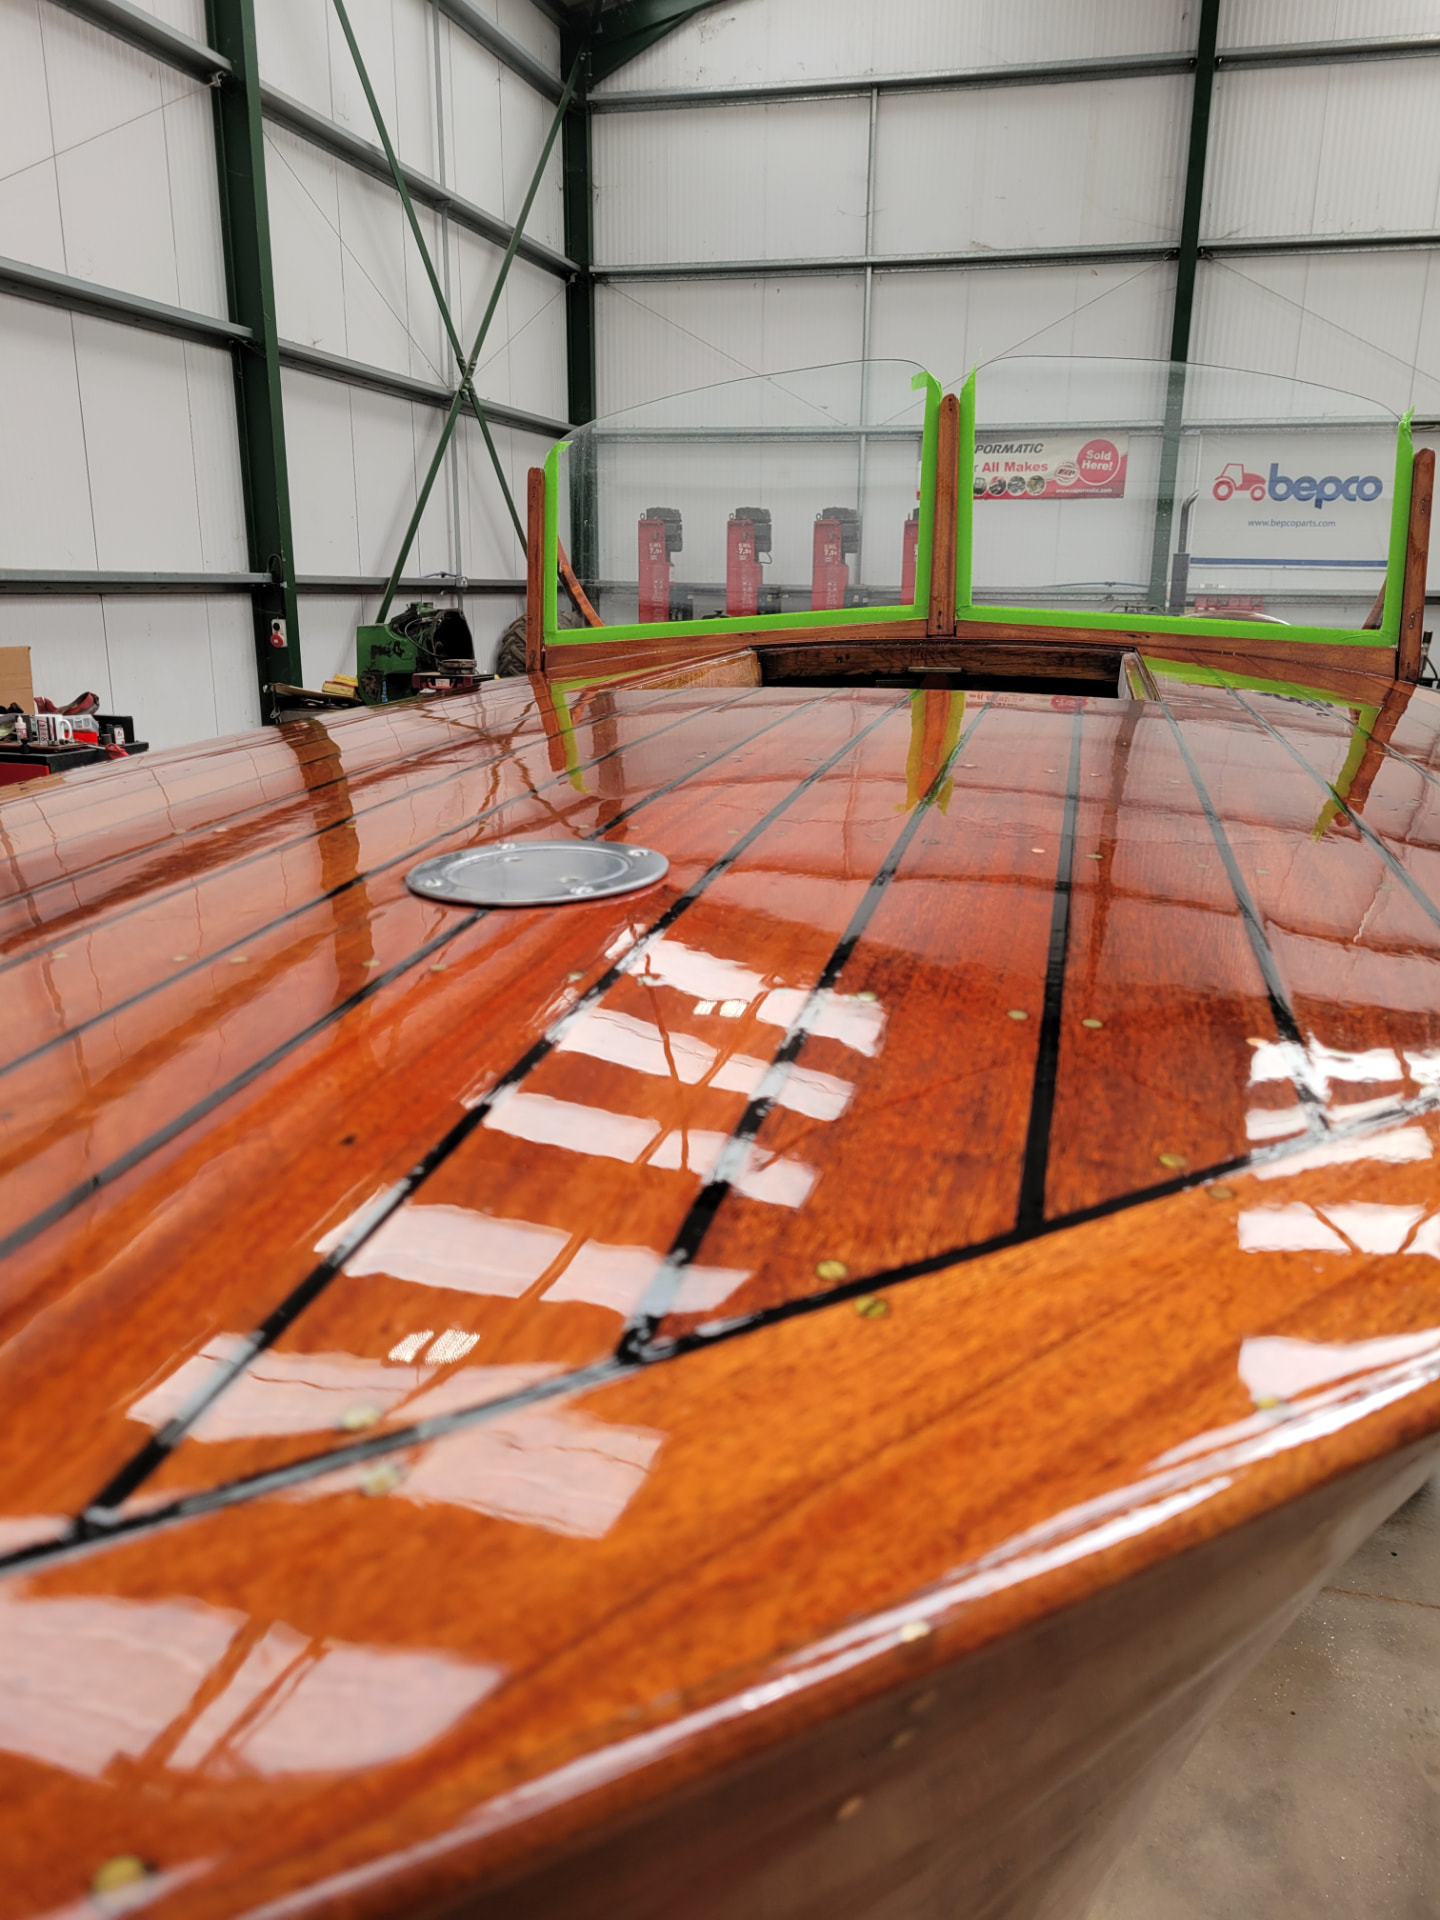
Keep the hull from drying out or staying saturated. Wooden boats need stable humidity to prevent shrinkage, swelling, and rot.
- ·Monitor bilge water daily
- ·Ventilate interior spaces
- ·Check for trapped water under floors
Brightwork and painted surfaces are the first defense against UV and salt. Maintain them on a predictable schedule.
- ·Wash with fresh water after use
- ·Touch up chips immediately
- ·Re-varnish high-wear areas annually
Planks, frames, and ribs must be inspected for splits, soft spots, and fastener corrosion before every season.
- ·Probe suspect areas with an awl
- ·Check for sprung planks
- ·Inspect caulking seams
Brass and bronze fittings can corrode, and iron fastenings cause black rot. Replace suspect fasteners with marine-grade equivalents.
- ·Inspect chainplates and keel bolts
- ·Look for rust weeping around nails
- ·Lubricate hinge hardware
Seasonal Maintenance Calendar
- —Pressure wash hull gently
- —Inspect bottom paint and touch up
- —Re-bed deck fittings and hardware
- —Check through-hulls and seacocks
- —Service engine and replace impeller
- —Rinse deck after every outing
- —Monitor varnish for UV damage
- —Keep bilge dry and ventilated
- —Check sails and running rigging
- —Tighten loose fasteners as needed
- —Wash and dry hull completely
- —Apply fresh bottom paint if needed
- —Cover or store under shelter
- —Drain all water systems
- —Document areas needing repair
- —Repair sprung or damaged planks
- —Re-caulk seams and pay with pitch
- —Strip and re-varnish brightwork
- —Replace worn fastenings
- —Plan major refits and projects
Common Threats
Teredo and gribble attack unprotected underwater timber in warm waters.
Sunlight degrades varnish and bleaches exposed wood, leading to cracks.
Trapped fresh water in poorly ventilated areas causes fungal decay.
Wood swells and shrinks with humidity, opening seams and stressing fasteners.
Know Your Construction Type
The right repair depends entirely on how the hull was built. Identify yours before buying materials.
Edge-to-edge planking over frames, seams caulked and payed.
Watch for: Seam compound failure, sprung planks, weeping fastenings.
Overlapping planks riveted through the lands — light and flexible.
Watch for: Loose roves and rivets, splits along the land, dried-out laps.
Narrow strips edge-glued and usually sheathed in epoxy and cloth.
Watch for: Sheathing blisters, delamination, moisture trapped under glass.
Laminated veneers or marine ply on a light framework.
Watch for: Ply edge rot, veneer lifting, fastener-hole water ingress.
Refit Jobs & Effort
Rake out old compound, prime the seam, pay with marine caulk, dress flush when cured.
Strip to bare timber, seal, then build 6–8 thinned coats sanding between each.
Back out iron nails or screws, clean the hole, plug or re-fasten in silicon bronze.
Remove the damaged plank, cut matched scarf joints, spile, fit, fasten and fair.
- ·Caulking irons and a caulking mallet
- ·Cotton and oakum, plus marine seam compound
- ·Sharp awl or bradawl for probing soft spots
- ·Moisture meter for planking and frames
- ·Silicon bronze screws, roves and copper nails
- ·Random orbital sander and fairing blocks
- ·Good tipped varnish brushes and tack cloths
- ·Epoxy, filleting fillers and mixing kit
Some jobs — sprung planks, keel bolts, structural frames — are safer in experienced hands. RS Carpentry & Boatbuilding in Norfolk UK covers traditional boat building, painting and varnishing, and all boat yard services.
Find Local Trades