1. Identify what you have
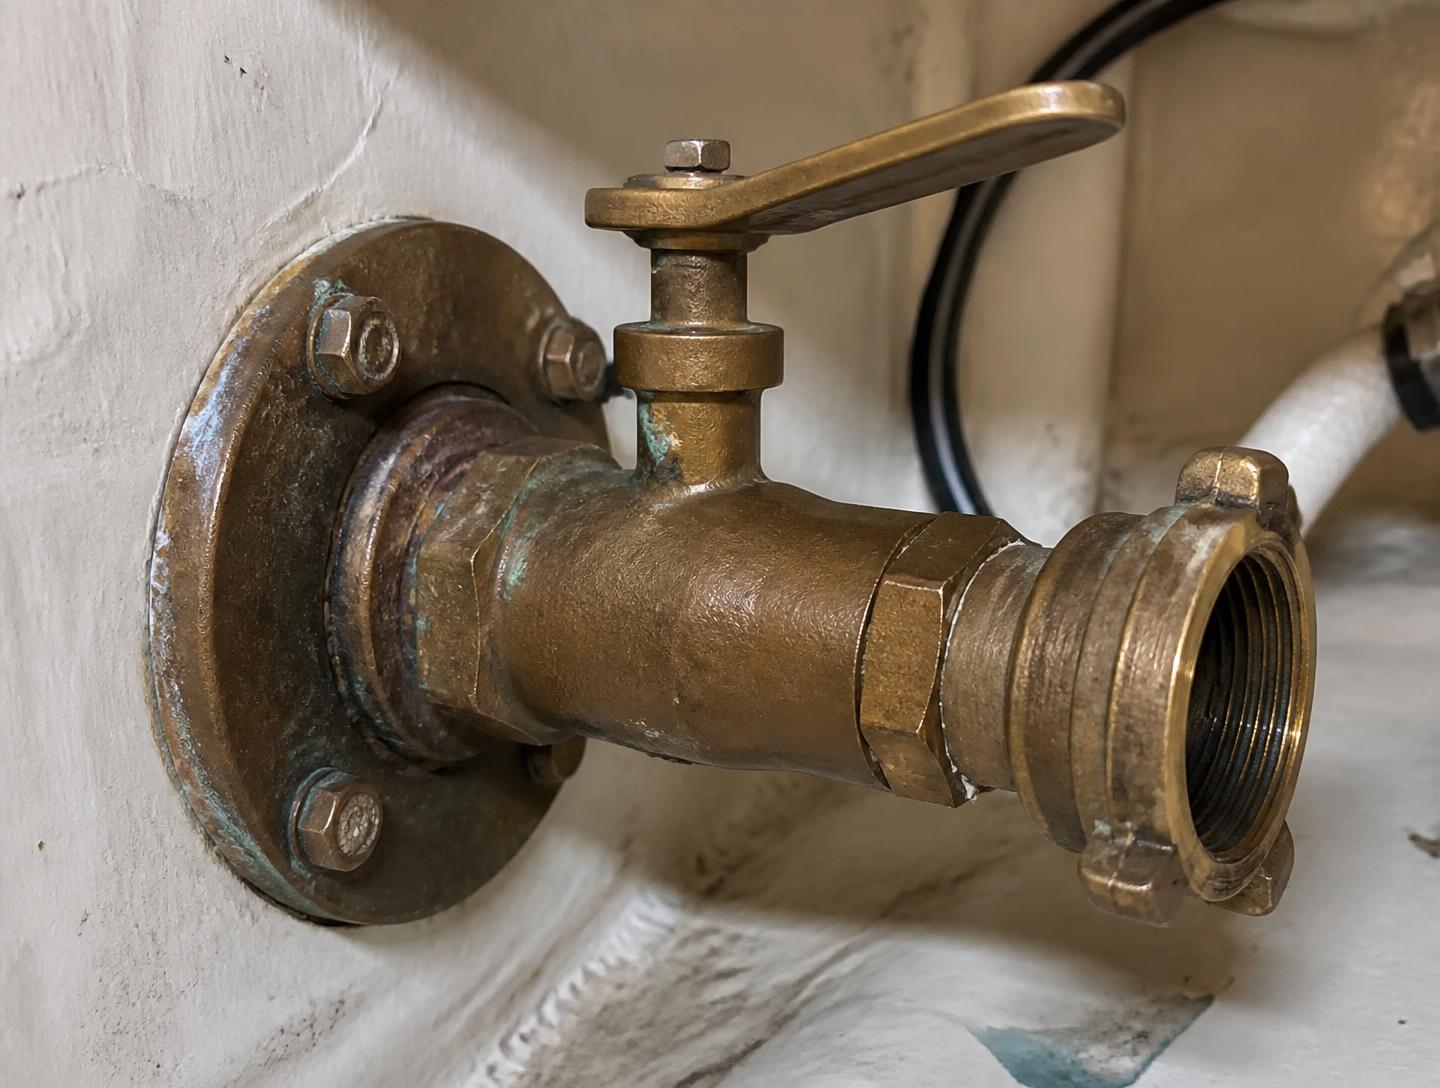
Tapered cone valves (Blakes type) have a bronze plug held by a nut and are designed to be stripped and greased. Ball valves are a sealed unit and are serviced by exercising and, when stiff, replacing.
Check every valve is a proper seacock with a flange bolted through the hull, not a cheap gate valve on a threaded skin fitting. Gate valves corrode open and snap — replace them.
2. Strip and grease a cone valve
With the boat ashore, undo the retaining nut and withdraw the tapered plug. Clean the plug and the body with a rag and fine wet-and-dry — never a wire wheel, which scores the mating faces.
Grease the plug generously with waterproof marine grease, refit and tighten the nut just enough that the handle moves firmly but does not weep. Too tight and you cannot turn it in an emergency.
3. Exercise and test ball valves
Work the handle fully open and closed a dozen times. If it needs two hands, the ball is corroding to the seat and the valve is on borrowed time.
Squirt penetrating oil down the through-hull from outside and work it again. If it is still stiff, budget for a replacement rather than trusting it.
4. Check the bronze itself
Tap each fitting with a spanner. Healthy bronze rings; dezincified bronze sounds dull and often looks pink or coppery where the zinc has leached out.
Scratch a hidden area with a screwdriver. If the metal underneath is pink rather than yellow, the fitting has lost its strength and must be replaced before launch.
5. Hoses, clamps and bungs
Every below-waterline hose needs two stainless clamps, screws facing opposite ways so you can reach both. Replace any clamp showing rust streaks — the band inside often fails before the visible screw.
Squeeze each hose along its length. Hard, crazed or spongy hose gets replaced; reinforced marine hose only, never garden hose.
Tie a correctly sized softwood bung to each seacock so it is at hand if a fitting fails at sea.