1. Assess the damage
A scratch you cannot catch a fingernail in will polish out with cutting compound alone — try that first before mixing anything.
Star crazing radiating from a point means the laminate behind it took an impact. Tap around the area: a dull sound means delamination, which is a laminate repair, not a gelcoat one.
2. Open it up
Grind the damage into a shallow V or dish with slightly undercut edges. Filler needs something to key into — a smear over an unopened crack will pop out.
Clean thoroughly with acetone and let it flash off. Any wax, polish or grease and the repair will not bond.
3. Match the colour
Mix a small test batch and cure it on a scrap before committing. Gelcoat darkens slightly as it cures, so match it cured, not wet.
Compare against a polished area of hull, not weathered gelcoat. Old white hulls are rarely still white — you often need a trace of grey or buff to blend in.
4. Fill and cure
Catalyse per the instructions and work the paste in firmly with a plastic spreader, leaving it proud of the surface by a millimetre or so.
Cover with PVA film or polythene. Gelcoat is air-inhibited and stays permanently tacky where it is exposed to air — this step is not optional.
Leave it to cure fully, ideally overnight and above 15°C.
5. Sand and polish
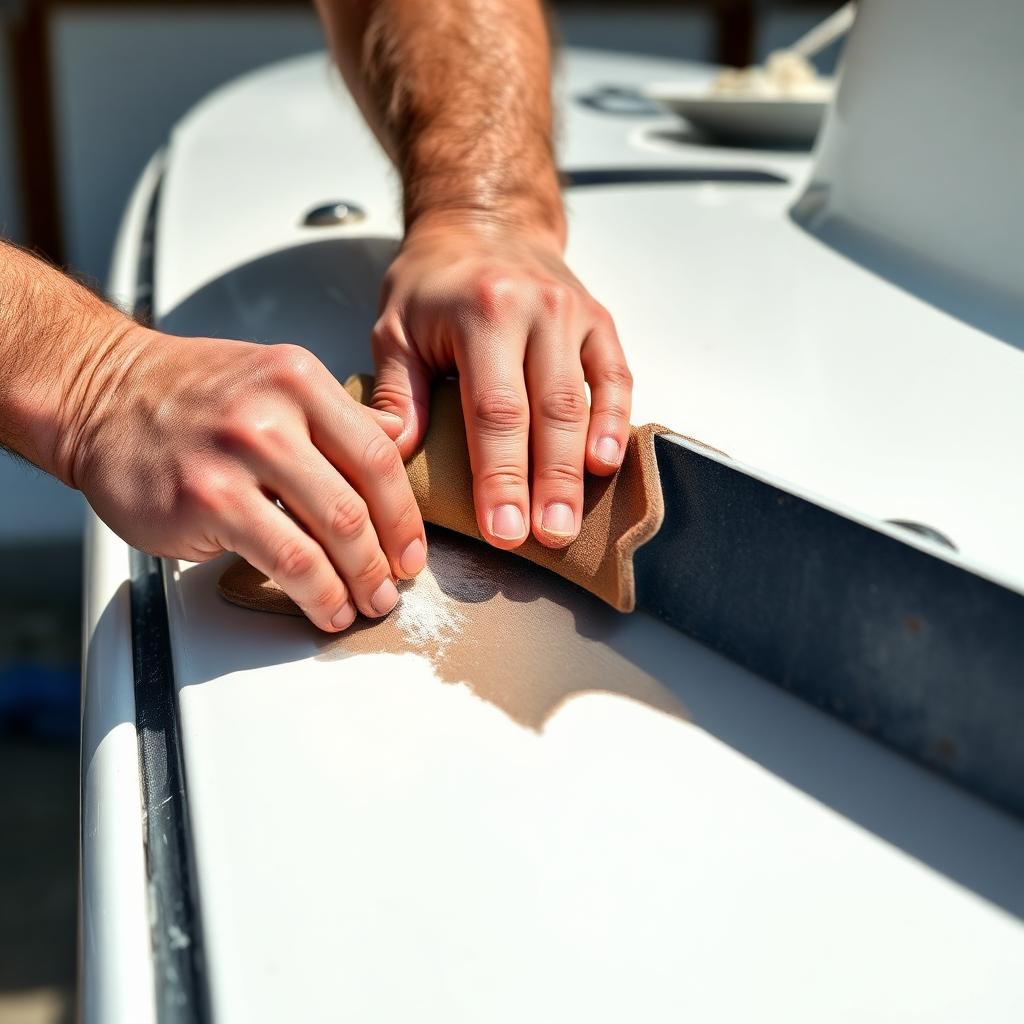
Wet sand the proud repair flat starting at 400 grit on a hard block, then work up through 600, 800, 1200 and 1500. Keep everything wet and rinse the paper often.
Finish with cutting compound and then polish. Take your time here — the difference between an obvious patch and an invisible one is entirely in the final two grades.
Wax the area once it has fully hardened, after a few weeks.